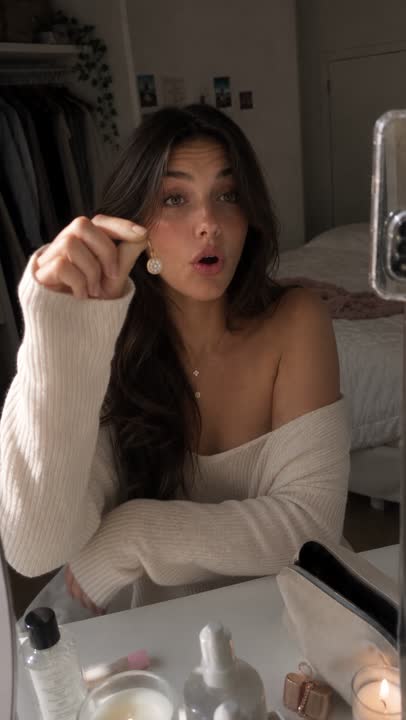
9 edições do Claude, um prompt para cada
Deixei o Claude editar meu vídeo: cartão de perfil, resposta de comentário, antes e depois, enquete, legendas e mais. Os 9 prompts, prontos para copiar.
Sem app de edição, sem timeline. Dei meu clipe bruto para o Claude e um prompt por efeito, e ele criou cada animação com código. Aqui estão os 9 prompts do vídeo, prontos para copiar.
1. Prepare tudo
1. Abra o Claude e use o Claude Code (a aba Code no app, ou o Claude no seu computador). Ele precisa rodar código para renderizar o vídeo.
2. Envie o seu clipe vertical.
3. Cole este prompt de configuração uma vez:
You are my video editor. I uploaded a vertical clip (9:16). Edit it with code: use ffmpeg, plus HTML, CSS or canvas for the graphics. Render the result as a 1080x1920 MP4 at the same frame rate, with my original audio. Keep my face visible and never cover it. Clean, premium style with smooth ease-in and ease-out animations. When it's done, give me the MP4 to download. Now wait for the effect I want.
2. Escolha o seu efeito
Cole um prompt, troque as partes entre [colchetes] e envie. Você recebe o MP4 editado de volta.
1. Cartão de perfil
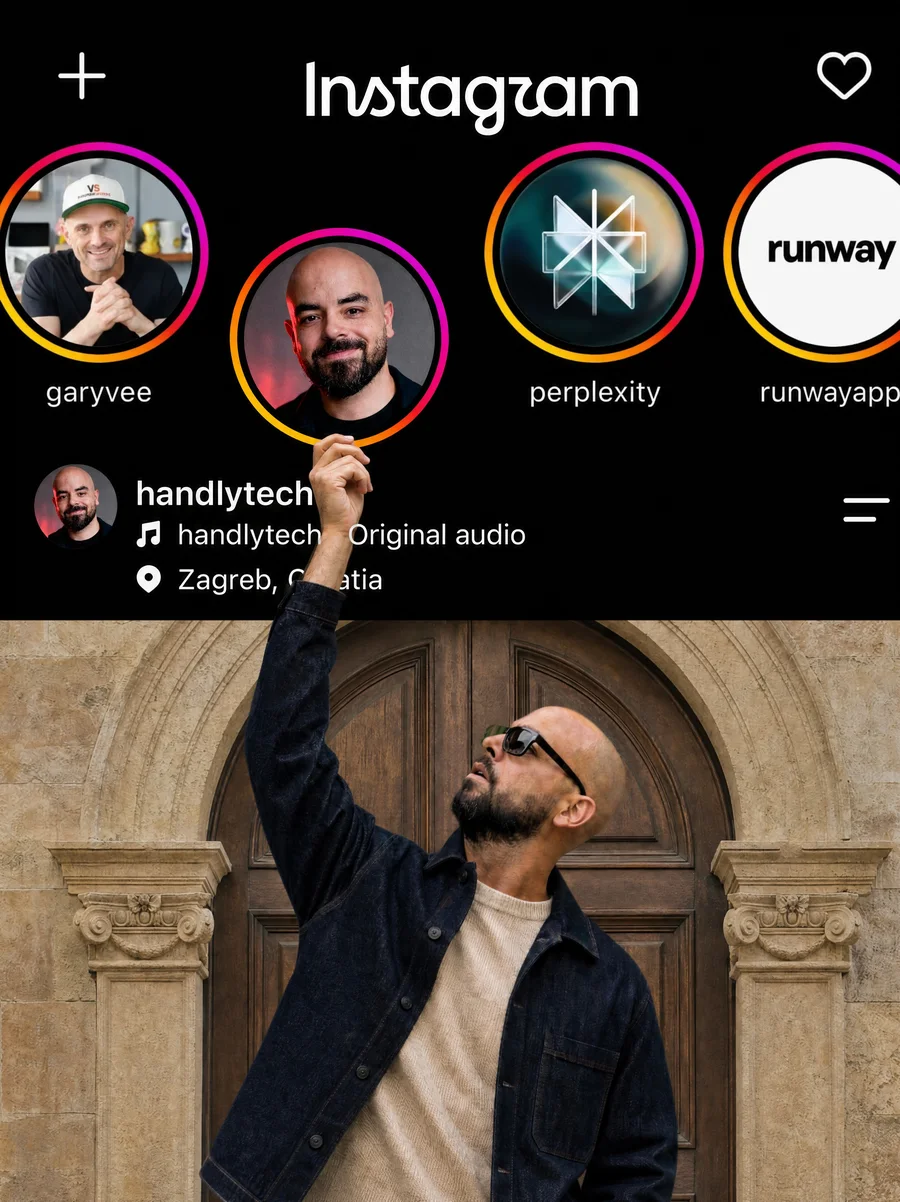
Add a "Meet the creator" profile card in the lower third at 0:01: my photo in a circle, my name [YOUR NAME], @[your handle], two topic chips ([topic 1], [topic 2]) and a red Follow button. A cursor taps Follow and it changes to Following. Dark glass card that slides up softly and stays for 3 seconds.
2. Resposta a um comentário
Add an Instagram-style comment bubble above my head that says "[the comment, e.g. how do you edit like this??]" with a username, a red heart and a like count. Small comments float up from the bottom ("need this", "tutorial pls", "HOW??"). Then my reply pops in at the bottom in a red pill: "[your reply]".3. Antes e depois
Make a before and after slider. The left side, BEFORE, is my raw clip with flat colors. The right side, AFTER, has a warm cinematic color grade. A round handle slides the divider slowly from one side to the other and back. BEFORE and AFTER labels at the top.
4. Enquete flutuante
Add a floating poll card under my face: "[your question]" with 3 options, [A], [B] and [C], and percentages. A cursor votes for [B], the bars fill up and [B] ends up the winner. White card with a red header and a soft shadow.
5. Modo tutorial
Tutorial mode: shrink my clip into a round bubble in the bottom left with a red LIVE tag. In the middle, show a phone screen where the steps type out one by one: [step 1], [step 2], [step 3]. Dark red background.
6. Legendas
Add bold captions, 2 to 4 words at a time, synced to what I say. White uppercase text, with one key word per line in a red box. Lower middle of the screen, never over my face.
7. Lista top 3
Add a "My top 3 [topic]" list. The title sits at the top in bold condensed letters. #3 [item], #2 [item] and #1 [item] slide in one by one on the beat, each with a short line under it. #1 gets a red highlight and a "MY PICK" tag.
8. Barra de busca
Add a search bar under my face. "[your search]" types out letter by letter, a results list drops down with [result 1], [result 2] and [result 3] with their icons, and a cursor taps the first one.
9. Cartão de ferramenta
Add a "Tool of the day" card in the lower third: the [tool] logo, its name, a one-line description and an Open button that a cursor taps. Dark glass card that slides up softly.
3. Ajuste em uma linha
Não ficou perfeito? Diga exatamente o que mudar, por exemplo “coloque a enquete mais para baixo” ou “deixe o cartão 1 segundo mais curto”. O Claude corrige só essa parte.
Quer todos em um vídeo só? Peça: “Use os efeitos de 1 a 9 nesta ordem, uns 3 segundos cada.”
Salve este guia e mande para um amigo que ainda edita na mão.