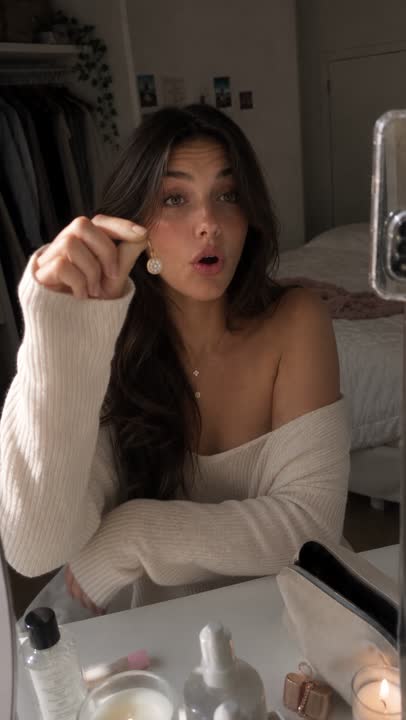
9 تعديلات بـ Claude، لكل تعديل برومبت واحد
تركت Claude يعدّل الفيديو الخاص بي: بطاقة تعريف، رد على تعليق، قبل وبعد، تصويت، ترجمة نصية والمزيد. البرومبتات التسعة كلها جاهزة للنسخ.
بدون تطبيق مونتاج، وبدون خط زمني. اعطيت Claude المقطع الخام وبرومبت واحداً لكل تاثير، وهو بنى كل حركة بالكود. اليك البرومبتات التسعة كلها من الفيديو، جاهزة للنسخ.
1. جهّز الاعداد
1. افتح Claude واستخدم Claude Code (تبويب "Code" في التطبيق، او Claude على كمبيوترك). يحتاج ان يشغّل الكود ليصدّر الفيديو.
2. ارفع مقطعك العمودي.
3. الصق برومبت الاعداد هذا مرة واحدة:
You are my video editor. I uploaded a vertical clip (9:16). Edit it with code: use ffmpeg, plus HTML, CSS or canvas for the graphics. Render the result as a 1080x1920 MP4 at the same frame rate, with my original audio. Keep my face visible and never cover it. Clean, premium style with smooth ease-in and ease-out animations. When it's done, give me the MP4 to download. Now wait for the effect I want.
2. اختر التاثير
الصق برومبت واحداً، غيّر الاجزاء التي بين [الاقواس]، وارسل. سيصلك ملف MP4 بعد التعديل.
1. بطاقة التعريف
Add a "Meet the creator" profile card in the lower third at 0:01: my photo in a circle, my name [YOUR NAME], @[your handle], two topic chips ([topic 1], [topic 2]) and a red Follow button. A cursor taps Follow and it changes to Following. Dark glass card that slides up softly and stays for 3 seconds.
2. الرد على تعليق
Add an Instagram-style comment bubble above my head that says "[the comment, e.g. how do you edit like this??]" with a username, a red heart and a like count. Small comments float up from the bottom ("need this", "tutorial pls", "HOW??"). Then my reply pops in at the bottom in a red pill: "[your reply]".3. قبل وبعد
Make a before and after slider. The left side, BEFORE, is my raw clip with flat colors. The right side, AFTER, has a warm cinematic color grade. A round handle slides the divider slowly from one side to the other and back. BEFORE and AFTER labels at the top.
4. تصويت عائم
Add a floating poll card under my face: "[your question]" with 3 options, [A], [B] and [C], and percentages. A cursor votes for [B], the bars fill up and [B] ends up the winner. White card with a red header and a soft shadow.
5. وضع الشرح
Tutorial mode: shrink my clip into a round bubble in the bottom left with a red LIVE tag. In the middle, show a phone screen where the steps type out one by one: [step 1], [step 2], [step 3]. Dark red background.
6. الترجمة النصية
Add bold captions, 2 to 4 words at a time, synced to what I say. White uppercase text, with one key word per line in a red box. Lower middle of the screen, never over my face.
7. قائمة افضل 3
Add a "My top 3 [topic]" list. The title sits at the top in bold condensed letters. #3 [item], #2 [item] and #1 [item] slide in one by one on the beat, each with a short line under it. #1 gets a red highlight and a "MY PICK" tag.
8. شريط البحث
Add a search bar under my face. "[your search]" types out letter by letter, a results list drops down with [result 1], [result 2] and [result 3] with their icons, and a cursor taps the first one.
9. بطاقة الاداة
Add a "Tool of the day" card in the lower third: the [tool] logo, its name, a one-line description and an Open button that a cursor taps. Dark glass card that slides up softly.
3. اصلحه بسطر واحد
النتيجة ليست مثالية؟ قل بالضبط ما يجب تغييره، مثلاً "move the poll lower" (انزل التصويت قليلاً) او "make the card 1 second shorter" (اجعل البطاقة اقصر بثانية). Claude يصلح هذا الجزء فقط.
تريدها كلها في فيديو واحد؟ اطلب: "Use effects 1 to 9 in this order, about 3 seconds each." (استخدم التاثيرات من 1 الى 9 بهذا الترتيب، نحو 3 ثوانٍ لكل تاثير).
احفظ هذا الدليل وارسله لصديق ما زال يعدّل فيديوهاته يدوياً.