9 montages Claude, un prompt chacun
J'ai laissé Claude monter ma vidéo : carte de profil, réponse à un commentaire, avant/après, sondage, sous-titres et plus. Les 9 prompts, prêts à copier.
Pas d'app de montage, pas de timeline. J'ai donné mon clip brut à Claude avec un prompt par effet, et il a construit chaque animation avec du code. Voici les 9 prompts de la vidéo, prêts à copier.
1. Prépare tout
1. Ouvre Claude et utilise Claude Code (l'onglet Code dans l'app, ou Claude sur ton ordinateur). Il doit pouvoir exécuter du code pour générer la vidéo.
2. Importe ton clip vertical.
3. Colle une seule fois ce prompt de départ :
You are my video editor. I uploaded a vertical clip (9:16). Edit it with code: use ffmpeg, plus HTML, CSS or canvas for the graphics. Render the result as a 1080x1920 MP4 at the same frame rate, with my original audio. Keep my face visible and never cover it. Clean, premium style with smooth ease-in and ease-out animations. When it's done, give me the MP4 to download. Now wait for the effect I want.
2. Choisis ton effet
Colle un prompt, change les parties entre [crochets] et envoie. Tu récupères le MP4 monté.
1. Carte de profil
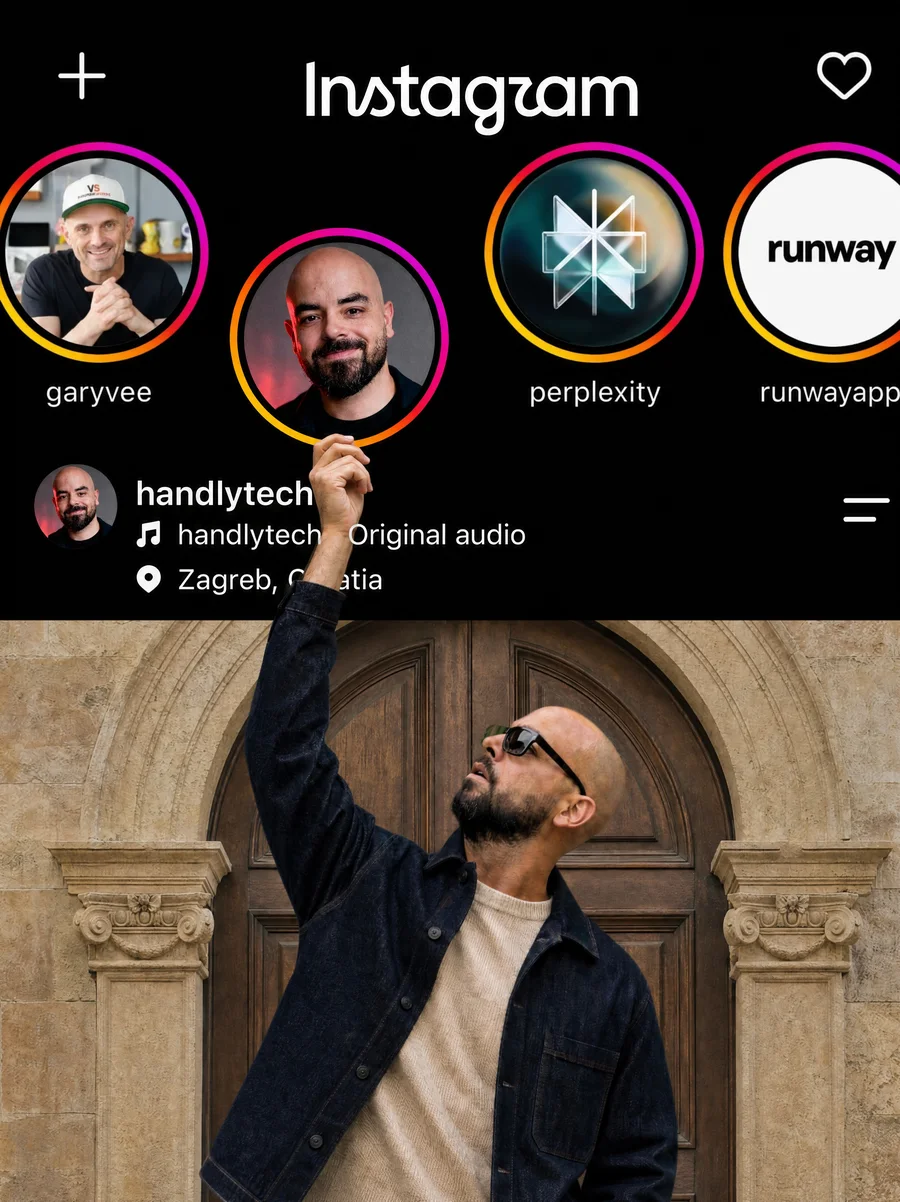
Add a "Meet the creator" profile card in the lower third at 0:01: my photo in a circle, my name [YOUR NAME], @[your handle], two topic chips ([topic 1], [topic 2]) and a red Follow button. A cursor taps Follow and it changes to Following. Dark glass card that slides up softly and stays for 3 seconds.
2. Réponse à un commentaire
Add an Instagram-style comment bubble above my head that says "[the comment, e.g. how do you edit like this??]" with a username, a red heart and a like count. Small comments float up from the bottom ("need this", "tutorial pls", "HOW??"). Then my reply pops in at the bottom in a red pill: "[your reply]".3. Avant et après
Make a before and after slider. The left side, BEFORE, is my raw clip with flat colors. The right side, AFTER, has a warm cinematic color grade. A round handle slides the divider slowly from one side to the other and back. BEFORE and AFTER labels at the top.
4. Sondage flottant
Add a floating poll card under my face: "[your question]" with 3 options, [A], [B] and [C], and percentages. A cursor votes for [B], the bars fill up and [B] ends up the winner. White card with a red header and a soft shadow.
5. Mode tuto
Tutorial mode: shrink my clip into a round bubble in the bottom left with a red LIVE tag. In the middle, show a phone screen where the steps type out one by one: [step 1], [step 2], [step 3]. Dark red background.
6. Sous-titres
Add bold captions, 2 to 4 words at a time, synced to what I say. White uppercase text, with one key word per line in a red box. Lower middle of the screen, never over my face.
7. Top 3
Add a "My top 3 [topic]" list. The title sits at the top in bold condensed letters. #3 [item], #2 [item] and #1 [item] slide in one by one on the beat, each with a short line under it. #1 gets a red highlight and a "MY PICK" tag.
8. Barre de recherche
Add a search bar under my face. "[your search]" types out letter by letter, a results list drops down with [result 1], [result 2] and [result 3] with their icons, and a cursor taps the first one.
9. Carte d'outil
Add a "Tool of the day" card in the lower third: the [tool] logo, its name, a one-line description and an Open button that a cursor taps. Dark glass card that slides up softly.
3. Corrige en une ligne
Pas parfait ? Dis exactement ce qu'il faut changer, par exemple "descends le sondage" ou "raccourcis la carte d'1 seconde". Claude ne corrige que cette partie.
Tu veux tout dans une seule vidéo ? Demande : "Utilise les effets 1 à 9 dans cet ordre, environ 3 secondes chacun."
Enregistre ce guide et envoie-le à un pote qui monte encore à la main.