9 Claude-Edits, je ein Prompt
Ich habe Claude mein Video schneiden lassen: Profilkarte, Kommentar-Antwort, Vorher-Nachher, Umfrage, Untertitel und mehr. Alle 9 Prompts zum Kopieren.
Keine Schnitt-App, keine Timeline. Ich habe Claude meinen Rohclip und pro Effekt einen Prompt gegeben, und es hat jede Animation per Code gebaut. Hier sind alle 9 Prompts aus dem Video, bereit zum Kopieren.
1. Einrichten
1. Öffne Claude und nutze Claude Code (den Code-Tab in der App oder Claude auf deinem Computer). Es muss Code ausführen können, um das Video zu rendern.
2. Lade deinen vertikalen Clip hoch.
3. Füge diesen Setup-Prompt einmal ein:
You are my video editor. I uploaded a vertical clip (9:16). Edit it with code: use ffmpeg, plus HTML, CSS or canvas for the graphics. Render the result as a 1080x1920 MP4 at the same frame rate, with my original audio. Keep my face visible and never cover it. Clean, premium style with smooth ease-in and ease-out animations. When it's done, give me the MP4 to download. Now wait for the effect I want.
2. Wähle deinen Effekt
Füge einen Prompt ein, ändere die Teile in [Klammern] und schick ab. Du bekommst das bearbeitete MP4 zurück.
1. Profilkarte
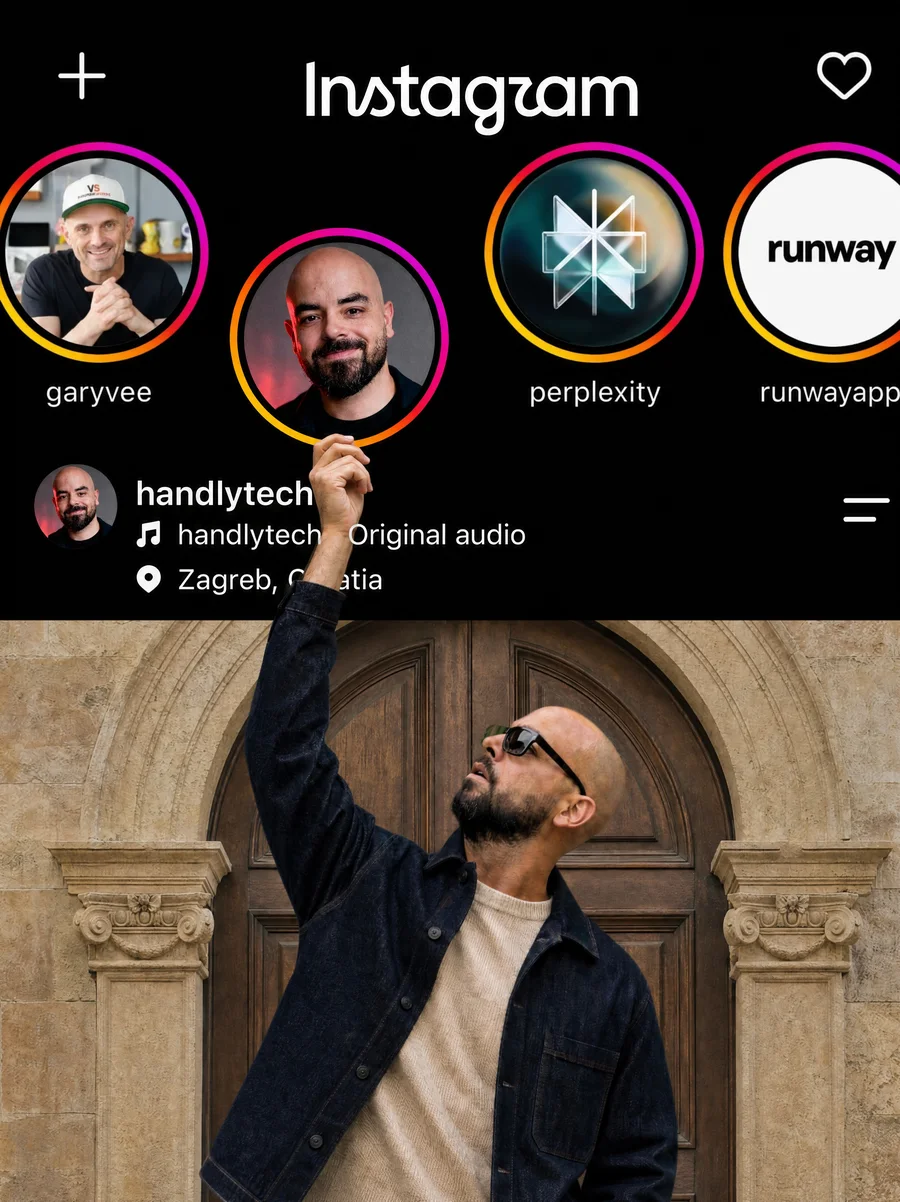
Add a "Meet the creator" profile card in the lower third at 0:01: my photo in a circle, my name [YOUR NAME], @[your handle], two topic chips ([topic 1], [topic 2]) and a red Follow button. A cursor taps Follow and it changes to Following. Dark glass card that slides up softly and stays for 3 seconds.
2. Auf einen Kommentar antworten
Add an Instagram-style comment bubble above my head that says "[the comment, e.g. how do you edit like this??]" with a username, a red heart and a like count. Small comments float up from the bottom ("need this", "tutorial pls", "HOW??"). Then my reply pops in at the bottom in a red pill: "[your reply]".3. Vorher und Nachher
Make a before and after slider. The left side, BEFORE, is my raw clip with flat colors. The right side, AFTER, has a warm cinematic color grade. A round handle slides the divider slowly from one side to the other and back. BEFORE and AFTER labels at the top.
4. Schwebende Umfrage
Add a floating poll card under my face: "[your question]" with 3 options, [A], [B] and [C], and percentages. A cursor votes for [B], the bars fill up and [B] ends up the winner. White card with a red header and a soft shadow.
5. Tutorial-Modus
Tutorial mode: shrink my clip into a round bubble in the bottom left with a red LIVE tag. In the middle, show a phone screen where the steps type out one by one: [step 1], [step 2], [step 3]. Dark red background.
6. Untertitel
Add bold captions, 2 to 4 words at a time, synced to what I say. White uppercase text, with one key word per line in a red box. Lower middle of the screen, never over my face.
7. Top-3-Liste
Add a "My top 3 [topic]" list. The title sits at the top in bold condensed letters. #3 [item], #2 [item] and #1 [item] slide in one by one on the beat, each with a short line under it. #1 gets a red highlight and a "MY PICK" tag.
8. Suchleiste
Add a search bar under my face. "[your search]" types out letter by letter, a results list drops down with [result 1], [result 2] and [result 3] with their icons, and a cursor taps the first one.
9. Tool-Karte
Add a "Tool of the day" card in the lower third: the [tool] logo, its name, a one-line description and an Open button that a cursor taps. Dark glass card that slides up softly.
3. In einer Zeile korrigieren
Nicht perfekt? Sag genau, was sich ändern soll, zum Beispiel „setz die Umfrage tiefer“ oder „mach die Karte 1 Sekunde kürzer“. Claude korrigiert nur diesen Teil.
Willst du alle in einem Video? Frag: „Nutze die Effekte 1 bis 9 in dieser Reihenfolge, je etwa 3 Sekunden.“
Speicher dir diesen Guide und schick ihn einem Freund, der noch von Hand schneidet.